So, like I mentioned
yesterday, I used Valentine's Day as the perfect chance to practice using all of my paper crafting tools that I've been acquiring! My two favorites were definitely the card I made for my future in-laws and the card I made for fi.
So, for the in-laws I needed card stock (obviously), my
Cricut Expression
, the
Create a Critter cartridge
, and the
Ultimate Crafter's Companion
:
I decided on a color scheme, as well as the "theme" for the Valentine, which would be "I'm nuts about my new family" with a squirrel and acorns for embellishments:
First things first, I had to cut the base of the card to the size that I wanted, which was 6 x 12. If you don't have a guillotine paper cutter, I totally recommend getting one. I adore mine (I have the
Tonic Studios 12-inch Guillotine Paper Trimmer
)
Then I used my Ultimate Craft Companion, which is seriously the coolest thing EVER if you make your own cards or boxes or envelopes or all three, to score the lines where the card needs to be folded in order to make the
perfect gate fold card. Basically it has a bunch of lines that are pre-measured for different paper sizes so you don't have to think at all when making a card:
 |
| Perfect Gatefold Card! |
Then I used my Cricut to cut out the squirrel:
And a bunch of acorns:
And I glued them all down to the front of the card with a speech bubble which I wrote "I'm nuts about my new family!" on:
Then I used some letter stickers that I've had for
ages (from back when I was an avid scrapbooker) to put Happy Valentine's Day" on the inside (which I had already used my paper cutter to cut a pretty piece of paper to the right size for the inside of the card):
Then I had to make the envelope. So, again, I used the Craft companion and the envelope side is just like the card side only there's a chart in their instruction booklet that explains how big the starting piece of paper has to be and which lines you need to score for basically any size envelope you can think of:
I decided to make it an "envelope box" since the card was quite thick, and here's the card in the envelope box:
And I threw a heart sticker on the front as well as some Sweethearts for my future mom and dad in-law:
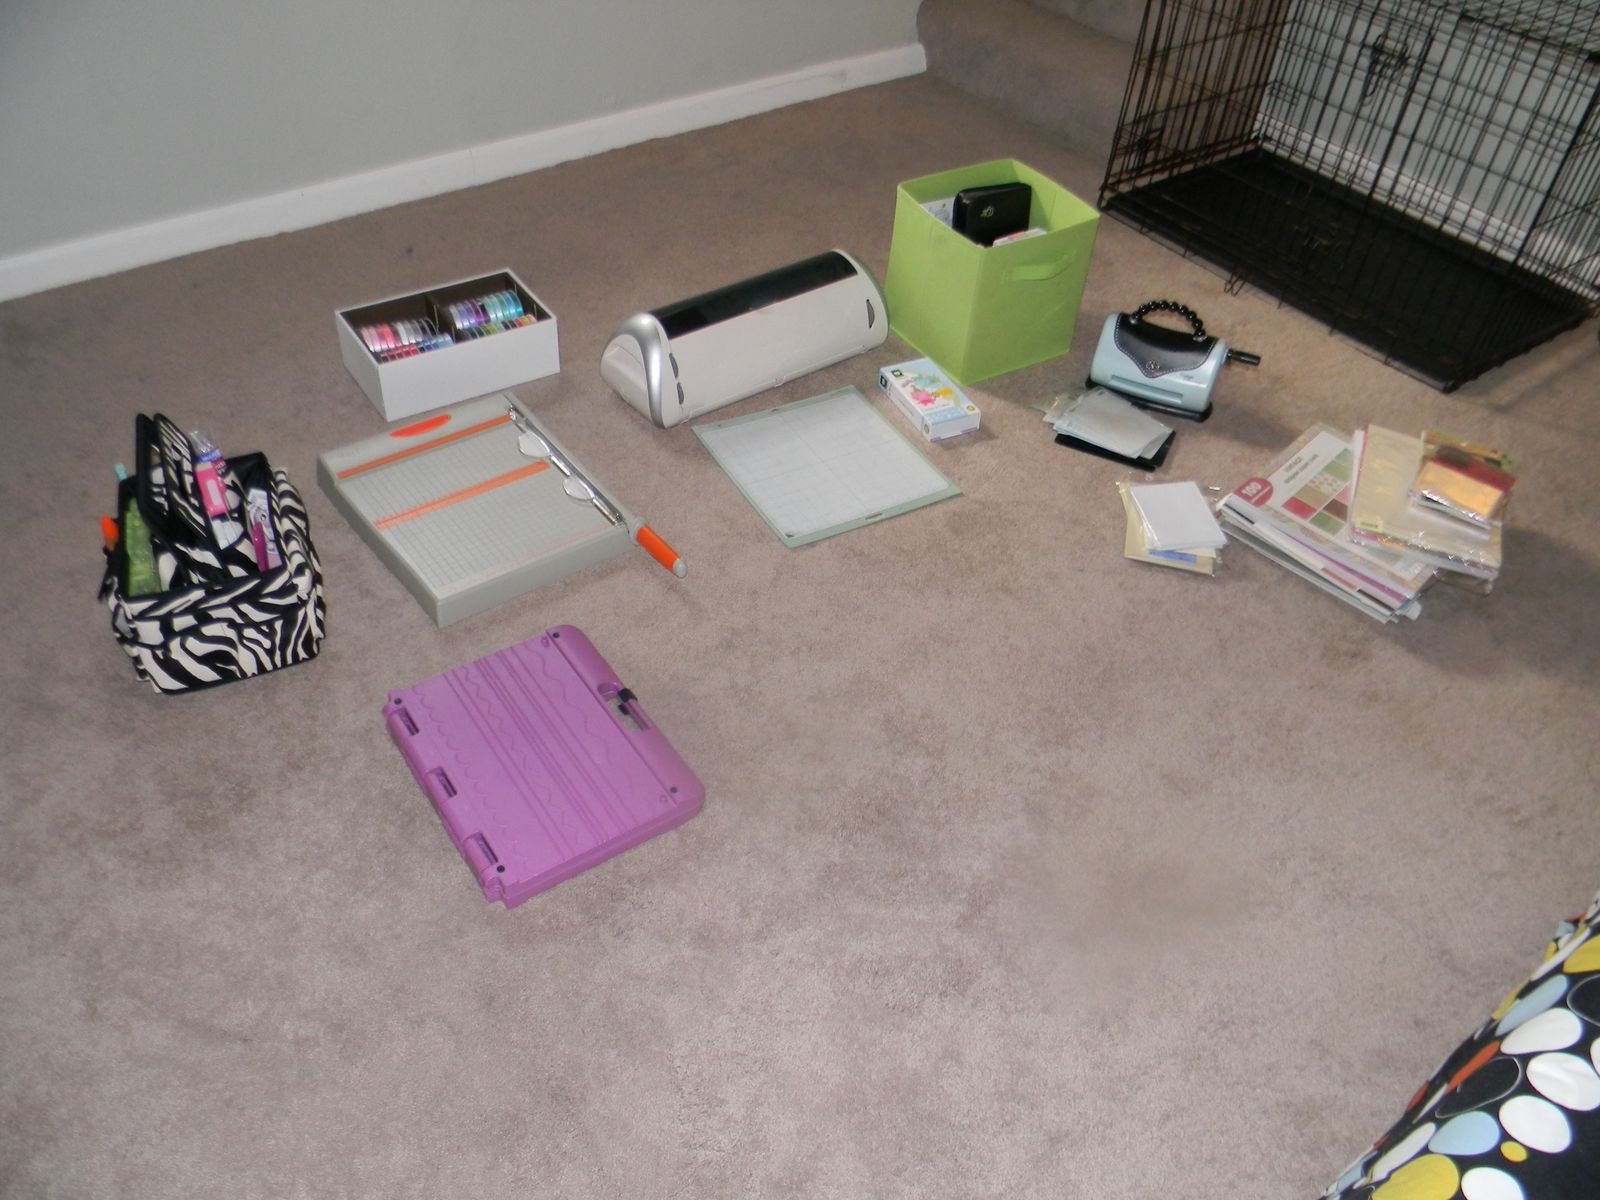
The one I made for fi is even cooler. First of all, let me explain something. I call fi "Bunny." I almost always have, because he drives a VW Rabbit. So I knew his valentine would be "Bunny" themed. And I was much better about photographing the process of making this card, so here we go. For this card, I needed the
Ultimate Crafter's Companion, my
Paper Trimmer, my
Cricut Expression, the
Create a Critter cartridge, some satin ribbon, (I thought I would need my S
izzix
but I didn't end up doing any embossing, but that's why it's pictured there), and all my paper to choose from:
 |
| The Ultimate Crafter's Companion |
 |
| My Crafting Tote full of random fun! |
 |
| My Satin Ribbon and Guillotine Cutter |
 |
| My Cricut Supplies |
 |
| My Paper! |
Again, first I had to cut the card paper to the size I wanted. This time I was doing 1/2 a letter sized card:
I was going to make a "pop out" card, so the first part is just a normal folded in half card:
And you can use the side of the scoring tool from the Crafter's Companion to make nice creases:
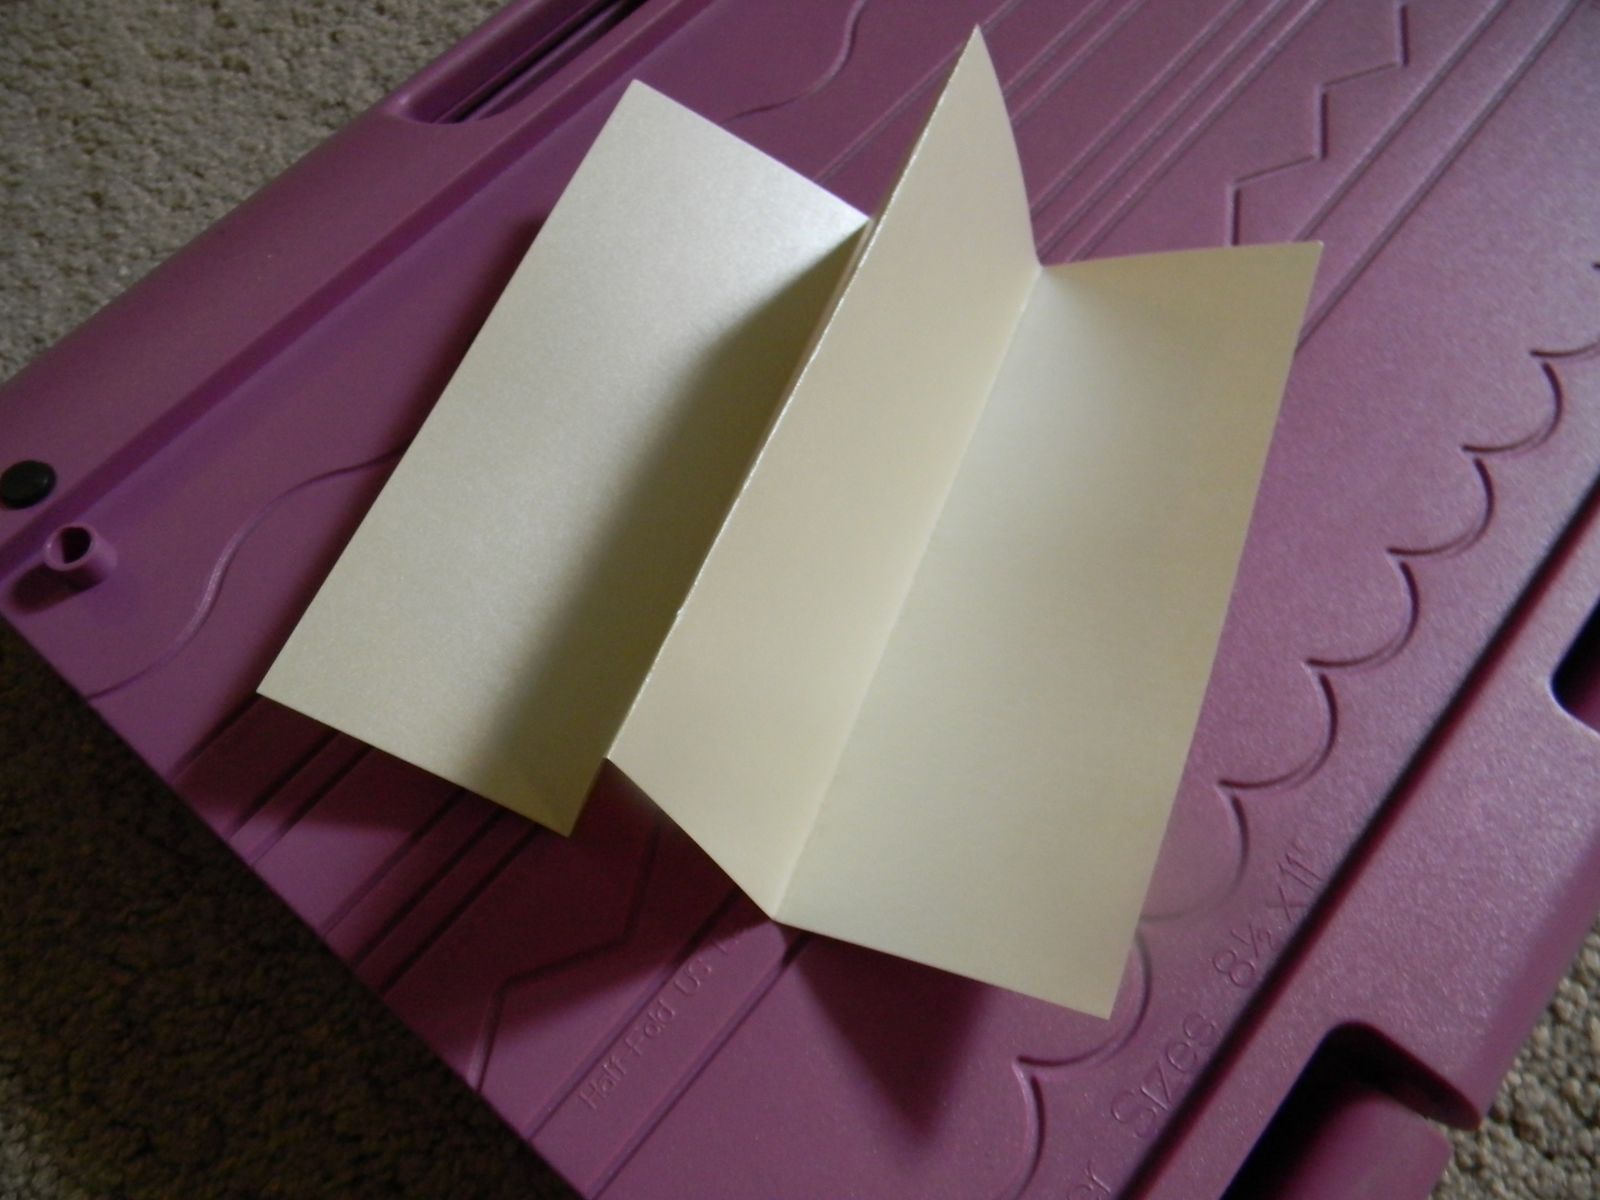
Then, for the pop-out part, I needed to use the other half of the piece of paper and do a quad-fold, which is also on the Crafter's Companion:
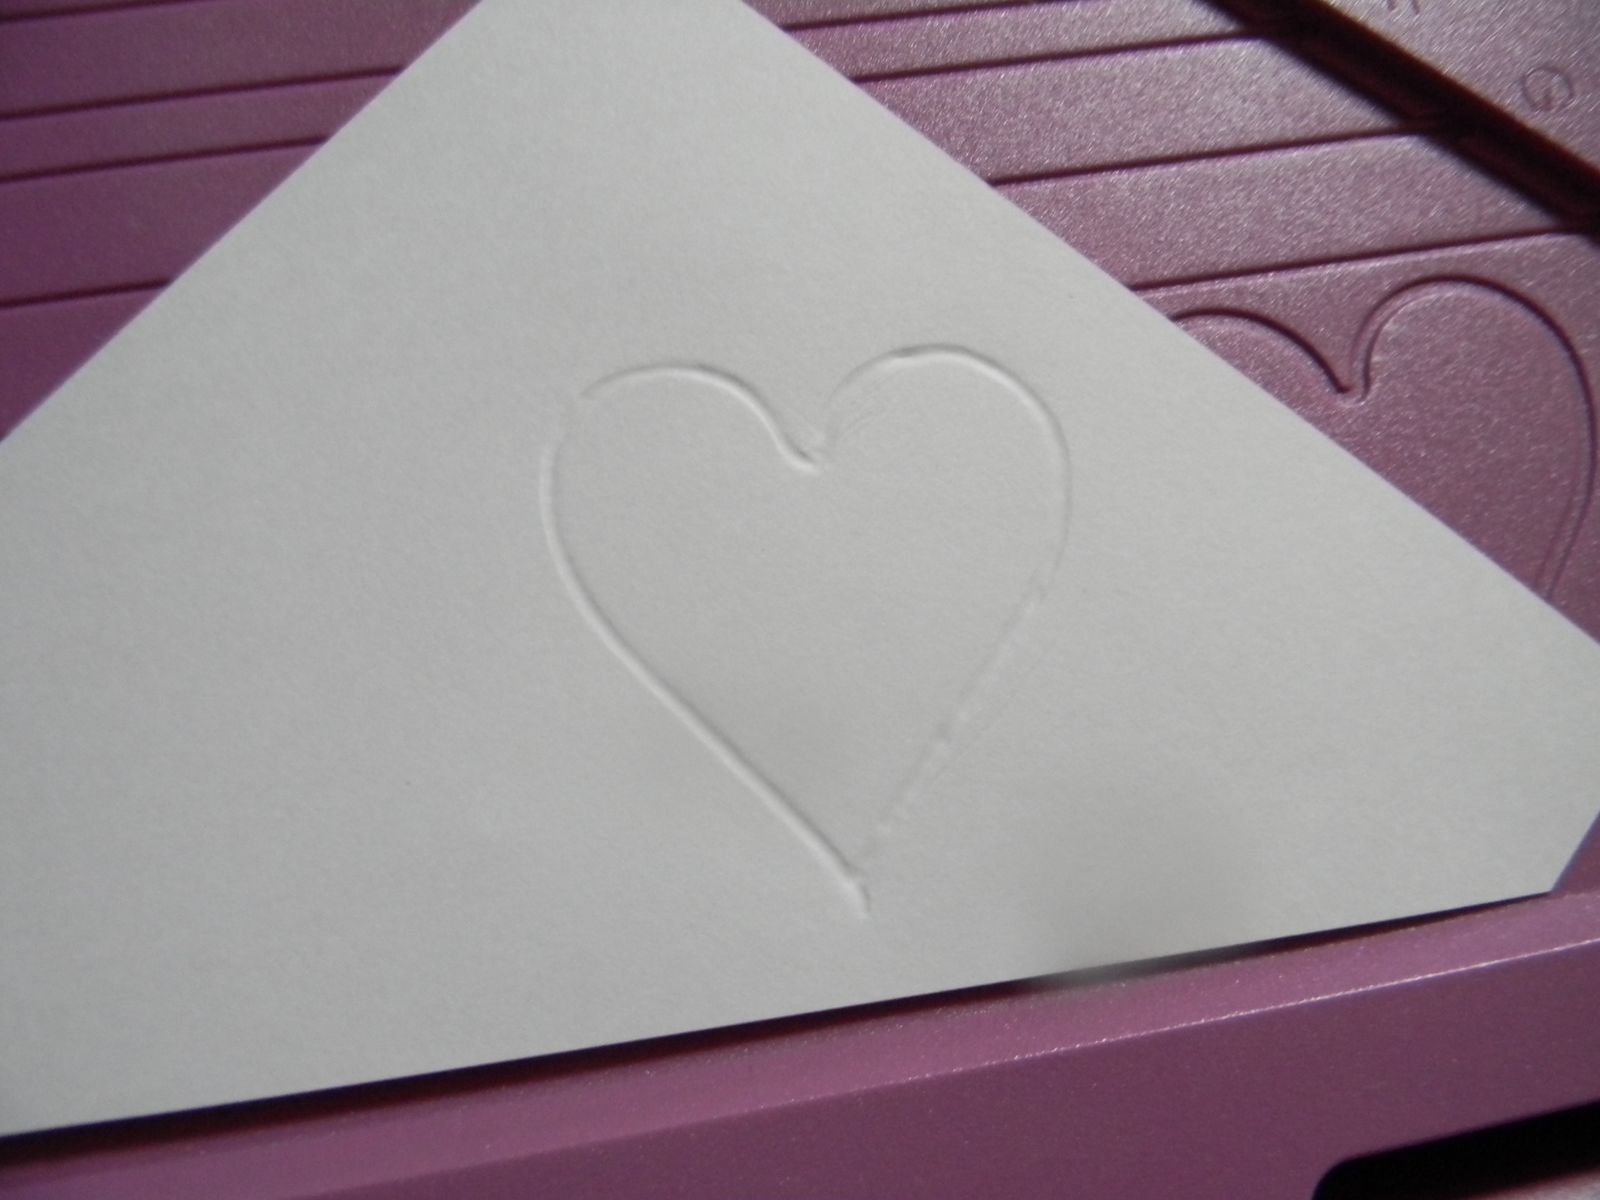
I wanted the pop-out to be a heart, so again I used the Crafter's Companion to emboss a heart in the middle of the quad-folded paper:
Then I just cut it out with scissors:
And I used double sided tape to fix the quad-folded paper inside the half-folded paper, thus making a "pop-out card":
 |
| Inside of the card |
 |
Front of the card - you would never know a heart was going
to pop out at you from the looks of the front, haha |
Then, to add some dimension to the pop-out I took a pretty piece of cardstock and embossed the same heart in it:
 |
| I embossed on the back side of the pretty paper |
So it would be the perfect size:
I knew I wanted to put hair bows on the girl bunny and a bow tie on the boy bunny so I used the Crafter's Companion yet again. It has these pegs that you can set at different widths to make all different sized bows!
 |
| The pegs - notice the holes to the right to make bigger bows |
 |
| My perfect, tiny bow! |
Apparently I forgot to take pictures, but I made three bunnies with my Cricut (and the Create a Critter cartridge). Two are "girl" bunnies (one for the front and one for the inside) and one is a "boy" bunny (just for the inside). Here are my bunnies and their bows:
And I used a hot glue gun to glue the bows to the bunnies:
I used my paper trimmer to cut some green cardstock for the bunnies to stand on, and then I used the Create and Critter Cartridge yet again to make some heart shaped balloons and I wrote on the front "I've known since the moment I met you..."
And on the inside "...That
you were the Bunny for
me! Happy Valentine's Day!"
So, the final card front;
And inside (you can kind of see the pink heart behind the pop-out in this picture)
Now I had to make the envelope, and again I used the Crafter's Companion and decided to make an "envelope box" since the card was quite thick:
This is the chart explaining how to make all different sized envelopes that comes with the Crafter's Companion:
I cut in the corners of the bottom so it would fold together better:
And I used my
Crop-a-dile Corner Chomper 
to round off the corner of the closing flap:
And I used one of the decorative embossing shapes on the Crafter's Companion to emboss a heart on the closing flap of the envelope:
I used double sided tape to assemble it:
And I taped under the part that was sticking up for a more finished look:
And my lovely card fit perfectly inside!
I considered putting an envelope liner in, but fi wouldn't have even noticed so I didn't want to waste the paper, haha. So those are my lovely Valentine's that I made using the plethora of paper crafting tools that I have! What do you think?


Dude, I am so jealous of your crafting skills! Those are so cute! I wish i had a cricut!
ReplyDeleteRandom, but I saw on the 'bee that you applied to blog..how long did they take to get back to you? The full month? I applied like two weeks ago and it's driving me CRAZY!
Those are like the most amazing V-day cards! I love that crafter's companion. It slices, it dices... Who wouldn't want to get those cards?!? I'll confess I'm a bit jealous.
ReplyDeleteI'm absolutely, positively speechless.
ReplyDeleteThose are the most amazing homemade cards I've ever seen and I feel like my rinky dink papyrus card I got my FI is so rinky dink now! You have such neat tools...are they expensive and would you say they're totally worth the purchase? I've been thinking about getting them...
GREAT JOB! Really! This is fantastic.
OMG!!! How cute!!!! I want to be your Valentine!!!
ReplyDelete